Cambria AR™
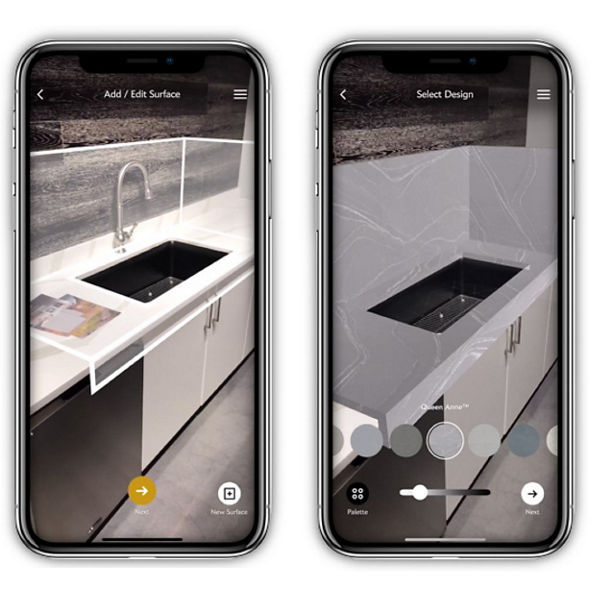
Let us help you achieve your vision and see our stunning countertops and surfaces in your spaces. The best way to see Cambria designs on your own countertops, islands, and surfaces is with our Augmented Reality (AR) app. Scan the surface, select the design, and see quartz designs in your space instantly.
How to Use Cambria AR
Use your device to scan the surface, then select the design you want and you’ll instantly see it in your own space.
Tips:
- Scan slowly to allow Cambria AR to map your surface. The more gold dots you see, the better your placement of Cambria designs.
- If the scanning progress has slowed, try moving around your space and getting closer or further away from the surface.
- Want to re-scan your space? Tap the arrow in the upper left corner and the scan will reset.
Tips:
- Misplaced a marker? No worries! Just press and hold on the pinpoint nearest to you to drag it into the correct position.
- As with scanning, it’s best to walk around your space and get your device as close to the surface when placing outline pins.
- Try using Cambria AR on multiple surfaces at a time, such as a traditional countertop perimeter with an island or bar.
Tips:
- Quickly find the “hue” or tone you’re looking for by using the light-to-dark slider at the bottom of the screen.
- See Cambria’s newest designs, or search for Cambria designs by name by using the Design Palette button in the lower right-hand corner.
Tips:
- Want to take pictures of multiple Cambria designs? Tap the back arrow in the upper left and select another Cambria design.
- Don’t forget, you can walk around your space to see Cambria from different angles.
- Share your photos of Cambria in your space on social media to get opinions from friends and family. And don’t forget to share with your designer or builder.
- Not yet working with a Cambria partner? Use our retail locator to find one near you.
Features
Multi-Surface
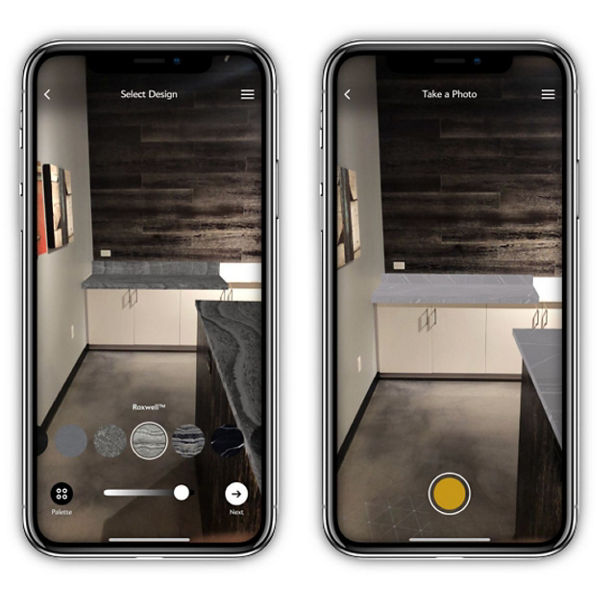
To help determine which Cambria designs complement your space, use the multi-surface feature, which lets you view as many designs as you’d like on multiple surfaces.
Vertical Surfaces
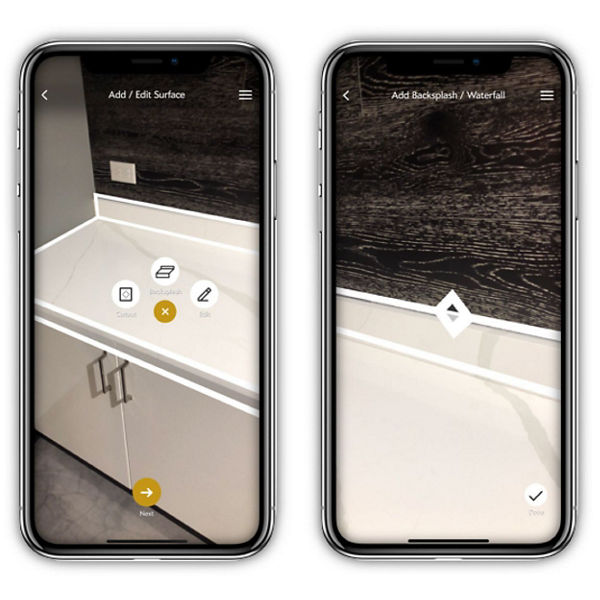
You can scan backsplashes, waterfall edges, and deeper sides, like the mitered edge profile.
Cutouts
Fit any Cambria design to your unique dimensions with the cutout feature. Cambria AR detects sinks and any other square, rectangular, oval, or circular openings.

